Measure a Product
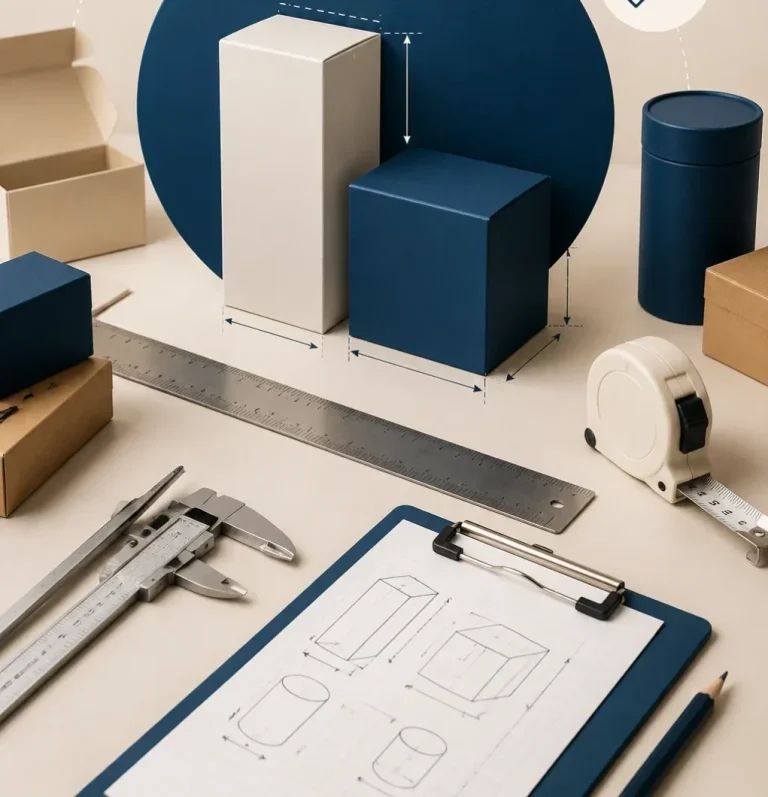
The Complete Guide to Measuring Products for Custom Boxes
Learn how to accurately measure your products to ensure a perfect fit, minimize shipping costs, and create custom packaging that protects your items.
Introduction
Selecting the correct box size begins with measuring your product accurately. Whether you’re shipping retail products, promotional items, or luxury goods, precise measurements help ensure your custom packaging fits perfectly, protects your products during transit, and presents your brand professionally.
In this guide, we’ll explain how to measure your products correctly and provide practical tips to help you determine the ideal box dimensions for your custom packaging.
What Measurements Are Required?
Before ordering custom packaging, you’ll need to record three essential product dimensions:
- Length – The longest side of your product.
- Width – The shorter side when viewed from the front.
- Height (or Depth) – The vertical measurement from the base to the highest point.
These three measurements form the basis for creating packaging that fits your product securely while maintaining an attractive presentation.
Measuring Rectangular Products
For products with square or rectangular shapes, measuring is quick and straightforward. Place the item on a flat, level surface before taking any measurements.
Step 1: Measure the Width
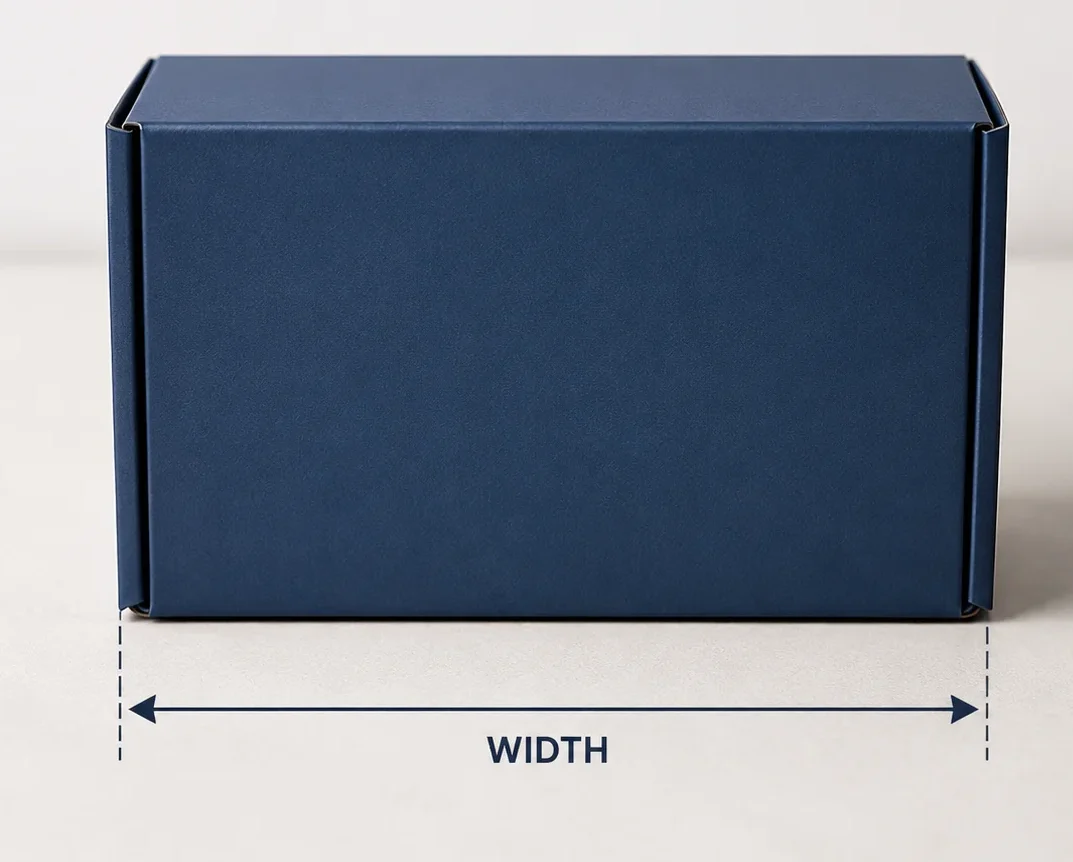
After measuring the length, the next step is to determine the width of your product. Place the product on a flat, stable surface and measure the shorter side from one edge to the opposite edge. Ensure the measuring tool is held straight and level to obtain an accurate reading.
If your product has curved edges, protruding parts, or an irregular shape, always measure the widest point to ensure the packaging will fit properly.
Step 2: Measure the Height
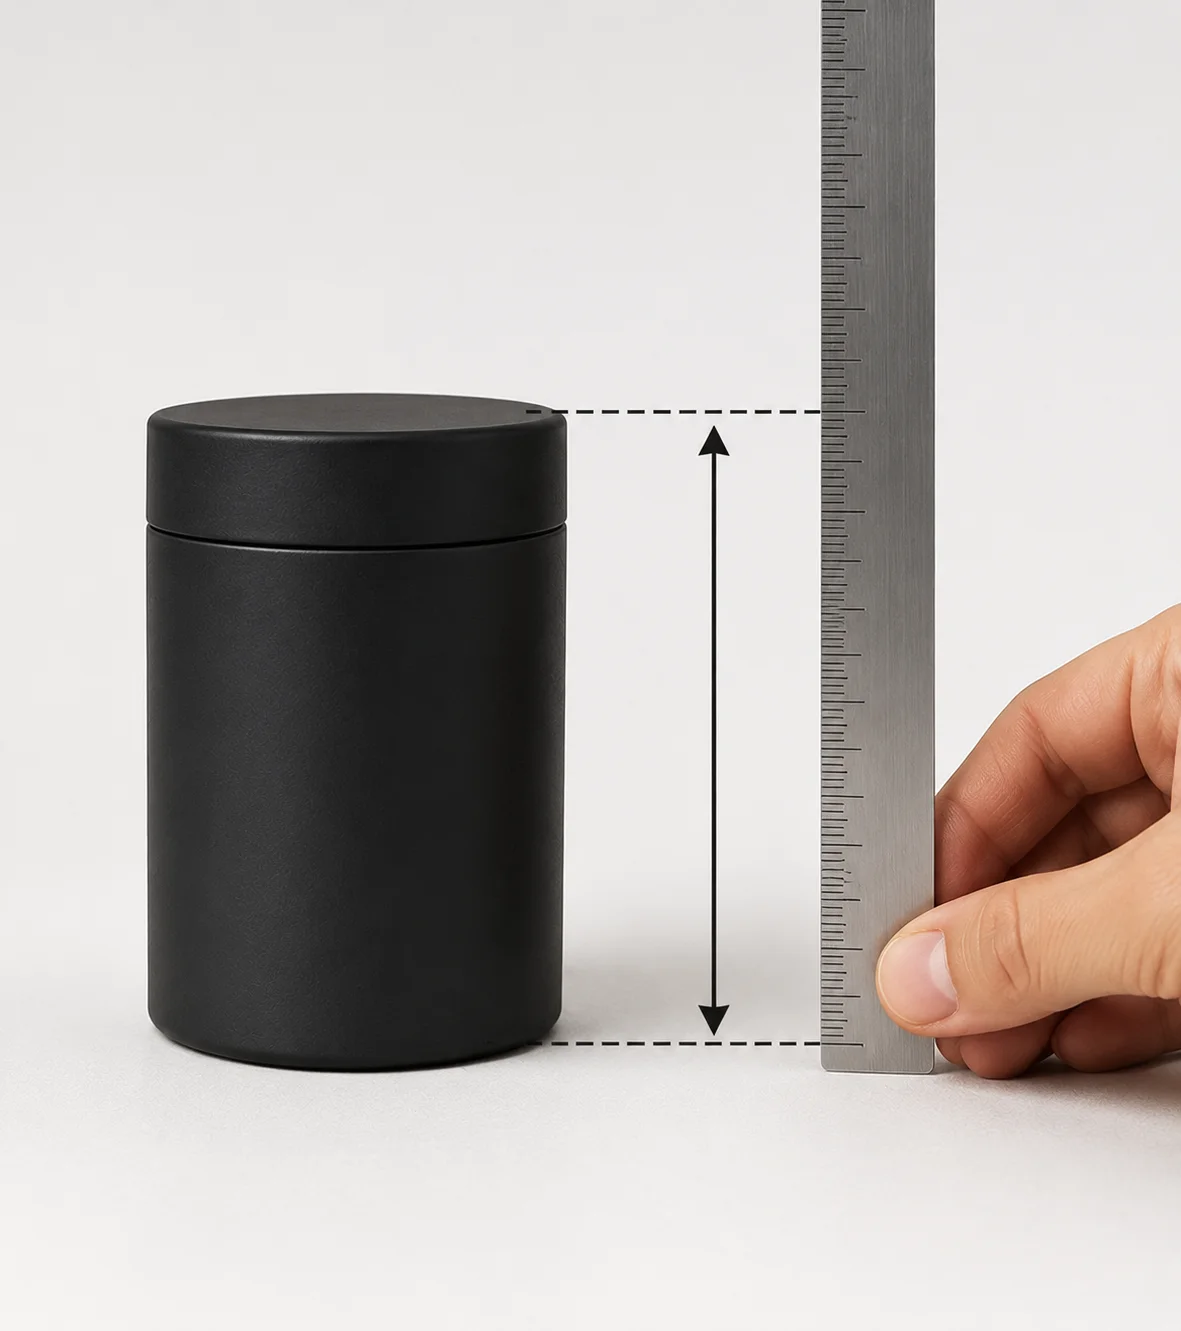
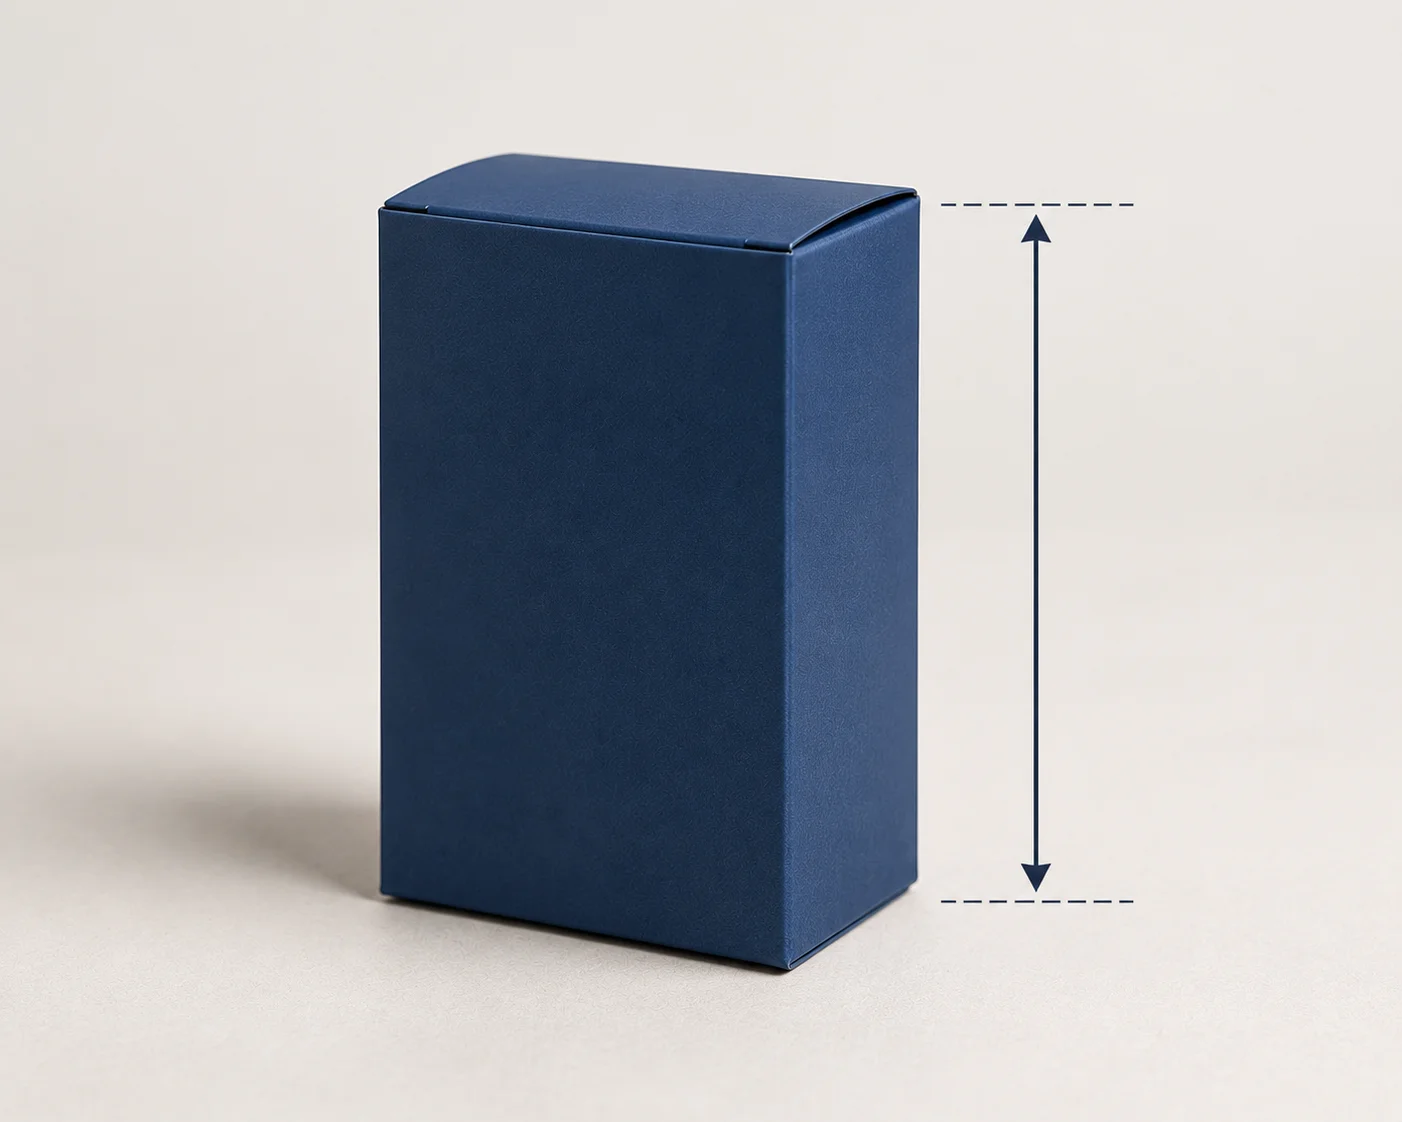
The final measurement is the height (also referred to as the depth) of your product. Position the product upright on a flat surface and measure the distance from the bottom to the highest point.
Be sure to include any lids, caps, handles, raised edges, or other protruding features that may increase the overall height. Hold the ruler or measuring tape vertically to ensure the measurement is accurate.
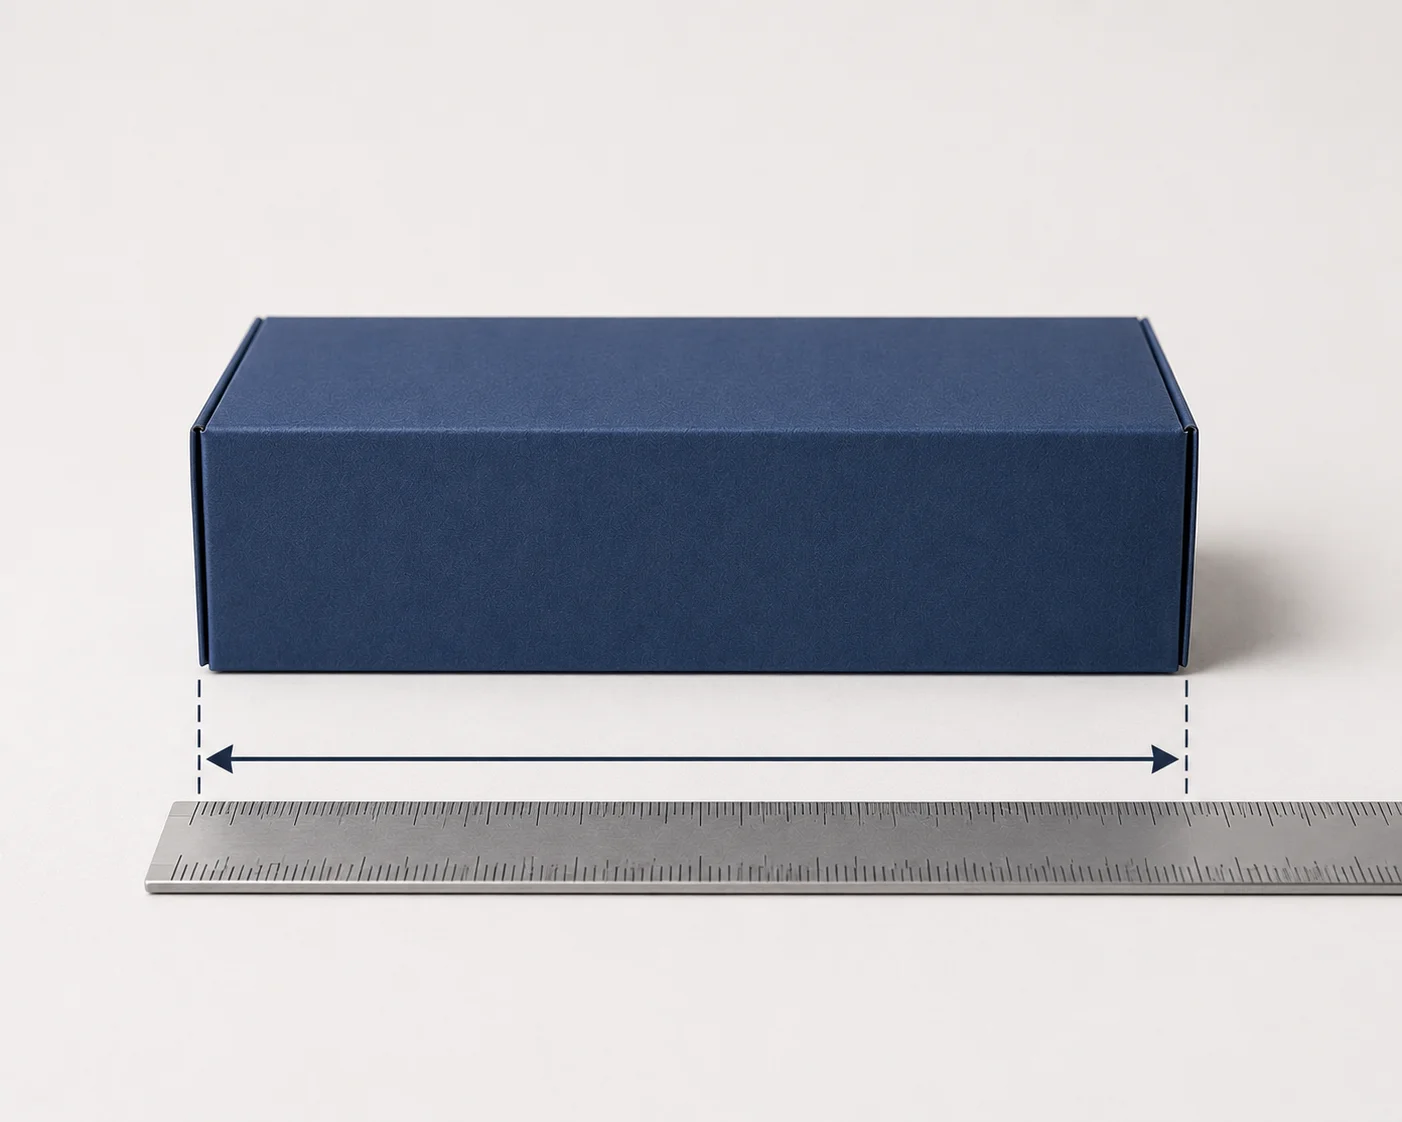
Step 3: Measure the Length
Begin by measuring the length, which is the longest side of your product. Place the item on a flat, stable surface and use a ruler, measuring tape, or digital caliper to measure from one end to the other.
Ensure the measuring tool is aligned straight with the product to obtain an accurate reading. If your product has an irregular shape, always measure the longest point to determine its true length.
Measuring Cylindrical Products
Round products require a slightly different measuring approach. A digital vernier caliper is recommended because it provides highly accurate diameter measurements.
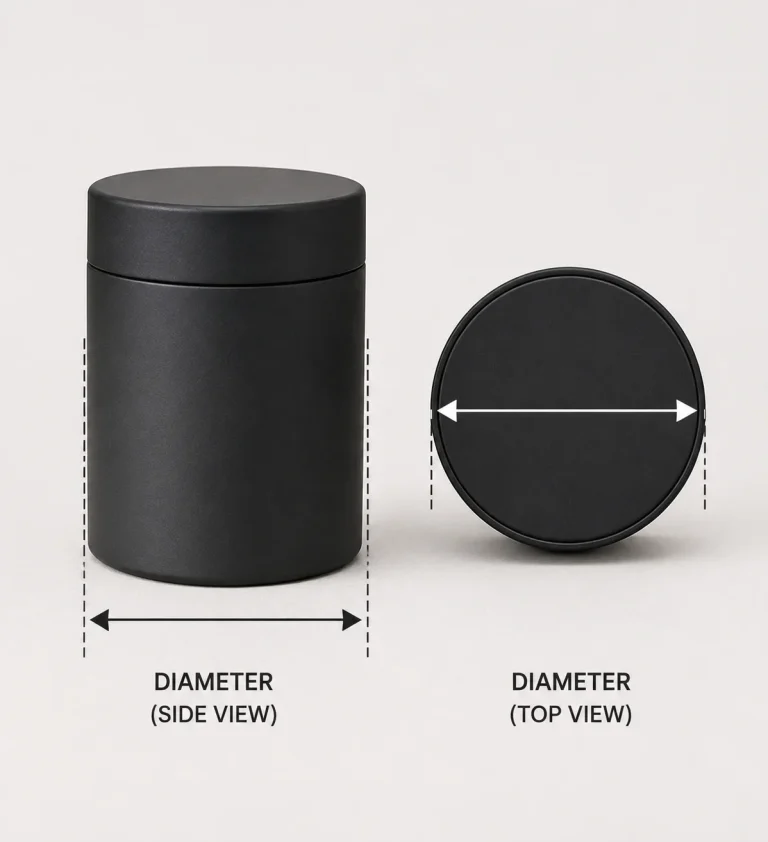
Step 1: Measure the Diameter
To measure a cylindrical product, begin by determining its diameter, which is the distance across the widest part of the object. Using a digital vernier caliper is recommended because it provides the highest level of accuracy for round products.
Open the caliper jaws, position the product between them, and gently close the jaws until they touch both sides of the product without applying excessive pressure. Record the measurement shown on the display or scale.
Step 2: Measure the Height
After measuring the diameter, the next step is to determine the height of the cylindrical product. Place the product upright on a flat, level surface and measure from the base to the highest point using a ruler, measuring tape, or digital vernier caliper. Ensure the measuring tool is held vertically to obtain an accurate reading.
If the product includes a cap, lid, nozzle, pump, or any other protruding component that will remain attached during packaging, include it in the overall height measurement.